 |
.NET Based OPC UA Client/Server SDK
3.0.7.484
|
|
.NET Based OPC UA Client/Server SDK
3.0.7.484
|
Select “File → New → Project” from the menu. Select “Visual C#” from the tree and pick the template “Console Application”.
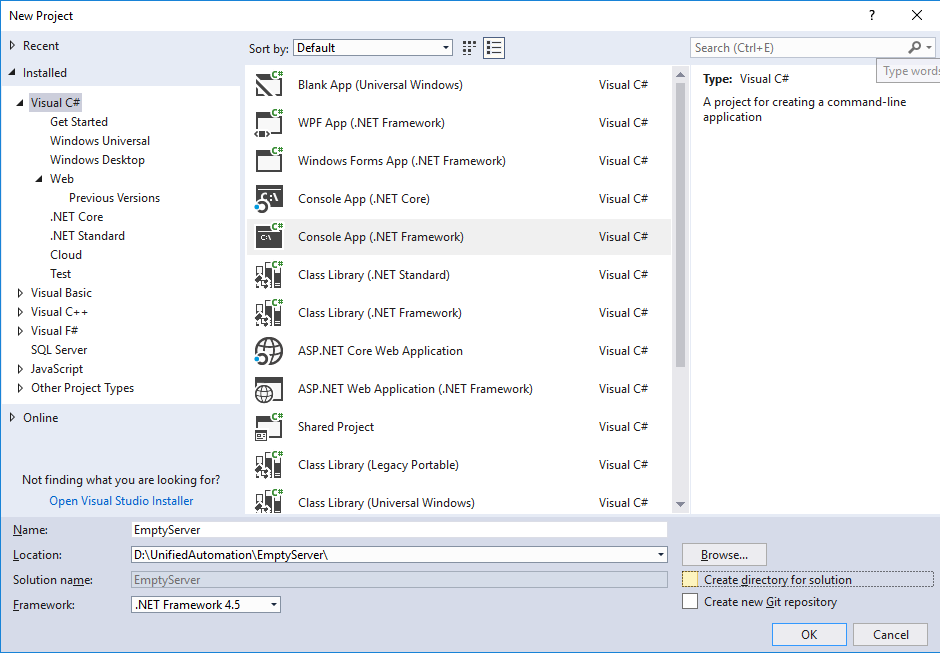
Change project name and location to your liking. In this example we are using .NET Framework 4.5.
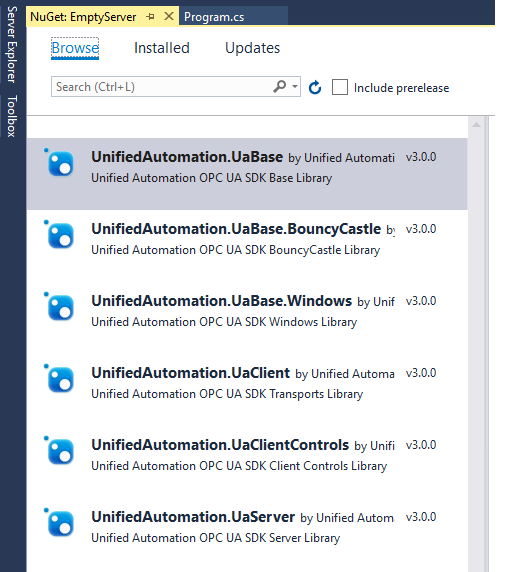
Right click on project in the Solution Explorer and choose “Manage NuGet Packages...” from the context menu.

Add the installation directoy of the UnifiedAutomation NuGet packages as package source and chose it. Select UnifiedAutomation.UaBase, UnifiedAutomation.UaBase.Windows and UnifiedAutomation.UaServer. If you are building your application with .NET Core, you should select UaBase.BouncyCastle instead of UaBase.Windows.
.
Add the following line to the file Program.cs:
Right click on your project in the Solution Explorer and choose “Add → New Folder” from the context menu.
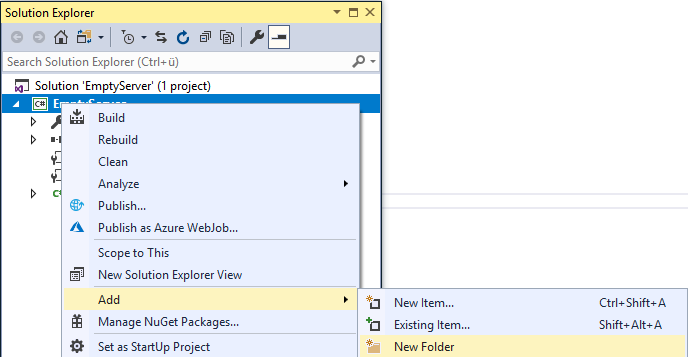
Name the newly created folder License.
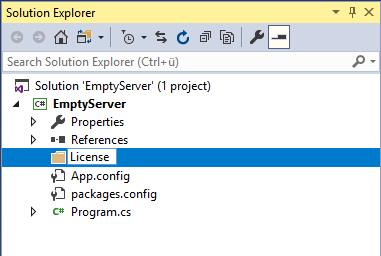
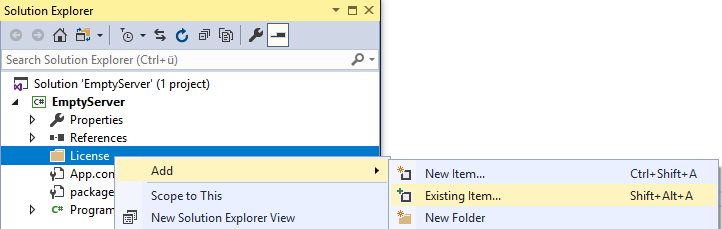
Right click on the License Folder and select “Add → Existing Item...”
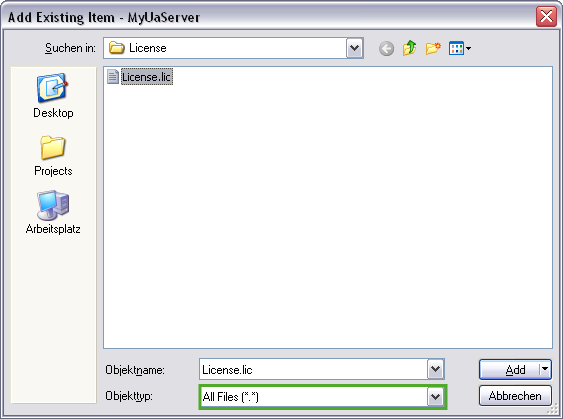
Set the file filter to “All Files (*.*)”, navigate to a folder containing a license file (e.g. [Installation Directory]/UnifiedAutomation/UaSdkNetBundleBinary/examples/BasicClient/License), select the file License.lic and confirm with “Add”.
Right click on License.lic and select “Properties”. Set the build action to “Embedded Resource”.
Add the following code to the file Program.cs to embed the license:
Add an App.config file via context menu “Add → Existing Item” to your project (e.g. from [Installation Directory]/UnifiedAutomation/UaSdkNetBundleBinary/examples/ServerGettingStarted/Lesson01). More information on configuration settings can be found in the first lesson, Options for Loading Configuration Settings and in the documentation for the Base Library under Configuration Schema.
Right click on App.config and select “Properties”. Set the build action to “None”.
You are now prepared to start with Lesson 1: Setting up a Basic OPC UA Server Console Application